Shopify
How to connect Shopify to Putler?
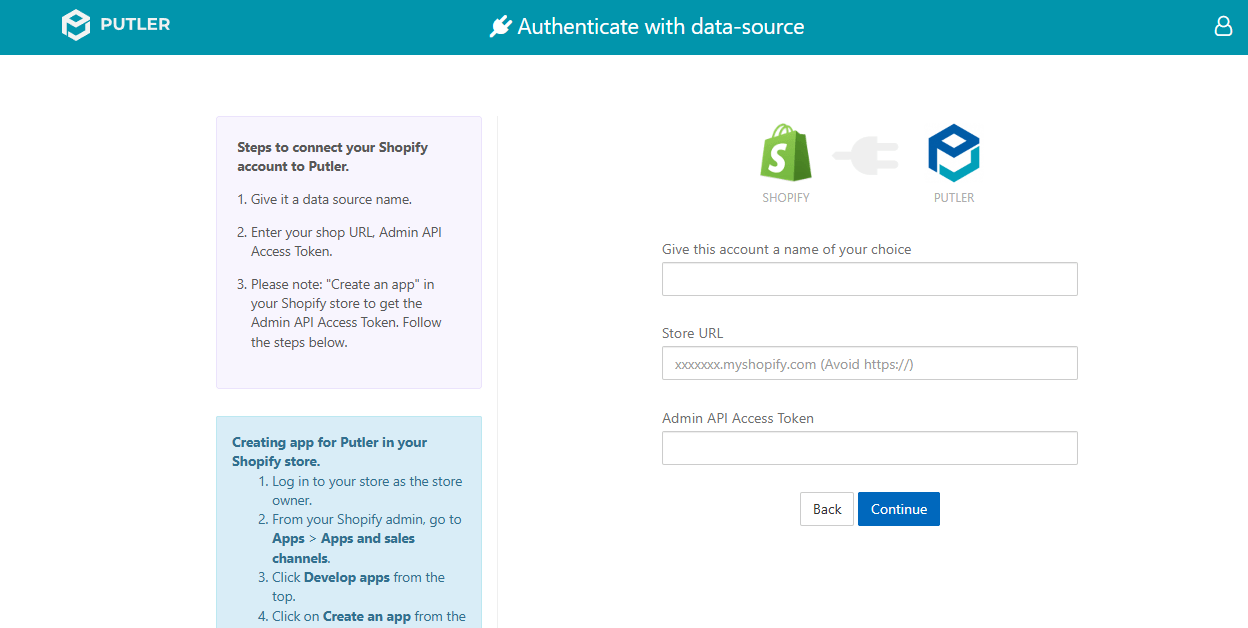
- Once you sign in to Putler, click on the
Shopifyicon. - Fill in your account details:
- Give this account a name of your choice: Add a name for your data source.
- For example: Shopify Store A
- Give this account a name of your choice: Add a name for your data source.
- Fill in your Shopify API details:
- Store URL
- For example: https://your-store-name.myshopify.com
- Store URL
- Admin API Access Token
- Hit Continue. Your Shopify account will be successfully added to Putler.
Where do I find my API settings?
Steps to Get API Details for Shopify
Creating App for Putler in Your Shopify Store
1. Access Shopify Admin
- Log in to your Shopify store as the store owner
- From the admin dashboard, go to: Apps → App Settings
- Click Develop apps at the top
- Click Build apps in the Dev Dashboard
→ You will be redirected to the Dev Dashboard page
2. Create the App
-
Click Create app
-
App name: Putler
-
Click Create
-
In the App URL field, enter: https://shopify.dev/apps/default-app-home
3. Configure API Scopes
- Scroll to the Scopes section
- Click Select scopes under Admin API access scopes
Select:
- Read & Write access for Orders
- Read access for Customers and Products
Search and enable:
- read_customers
- write_orders
- read_orders
- read_products
Click Done
4. Configure Webhooks & Release the App
- Go to Webhook subscriptions
- Keep Event version set to Latest (2026-01)
Then:
- Click Release
- Enter version name:
version1 - Click Release
- Navigate back to the Dev Dashboard
5. Install the App
- Click on the app name (Putler)
- Click Install app
- You will be redirected to the Shopify admin installation page
- Click Install
→ The app will be installed
6. Get API Credentials
- Go to Dev Dashboard → Settings
- Copy your:
- Client ID
- Client Secret
7. Generate Admin API Access Token
Use Postman or any similar tool:
- Method: POST
- URL: https://your-shop-name/admin/oauth/access_token
Replace your-shop-name with your actual store name.
8. Request Body
-
Go to Body → raw → JSON
-
Add: client_id: "your_client_id" client_secret: "your_client_secret" grant_type: "client_credentials"
-
Replace values with your actual credentials
-
Click Send
9. Response
- You will receive an
access_tokenin the response
WARNING
You can only reveal it once. So make sure you keep a copy of it with you, in case you need it in future. If you lose it, you will have to create a new app and then use a new token.
NOTE
Already have a data source(s) connected, but wish to add more, then follow these steps.