
Learning how to export Shopify data is one of the most useful skills for running a store well. Whether you want to analyze sales trends, clean up inventory, migrate to a new platform, or feed a customer list into your email tool, a Shopify data export puts your product, customer, and order records in your hands as a plain CSV file.
This guide covers how to export Shopify data manually, the exact limits Shopify puts on those exports, how to automate the process with a Shopify data export app, and how a tool like Putler exports segmented data for analysis. Understanding your Shopify analytics is the first step, and knowing how to export it properly unlocks the rest.
Shopify data export overview
Exporting data from your Shopify store gives you access to the raw records behind your business. It lets you extract information about your products, customers, orders, and more, so you can analyze sales trends, manage inventory, or personalize marketing campaigns from outside the Shopify admin.
Why export Shopify data
Exporting Shopify data isn’t just a convenience. For store owners who want to stay ahead, it’s how you get real work done outside Shopify’s built-in reports:
- Deeper insights: A raw data export lets you dig into store performance and uncover trends that guide strategy.
- Better decisions: Complete data supports informed calls on inventory, marketing, and customer engagement.
- Custom analysis: Exported data can be sliced to your own needs, so you spot opportunities and address problems on your terms.
- Migration and backup: A CSV export is how you move a catalog to a new store or keep a historical archive for safekeeping.
Drawbacks to know first
The benefits are real, but manual exporting has trade-offs worth knowing. It can be time-consuming and prone to human error, especially with large datasets. Automatic exports remove that repetition but involve some technical setup and ongoing maintenance. These challenges often overlap with other common issues with Shopify stores that merchants hit as they scale.
How to export Shopify data manually
Exporting Shopify data manually is simpler than it sounds. Shopify lets you select specific data sets and control the export parameters, all from the admin. Here’s the step-by-step for each data type.
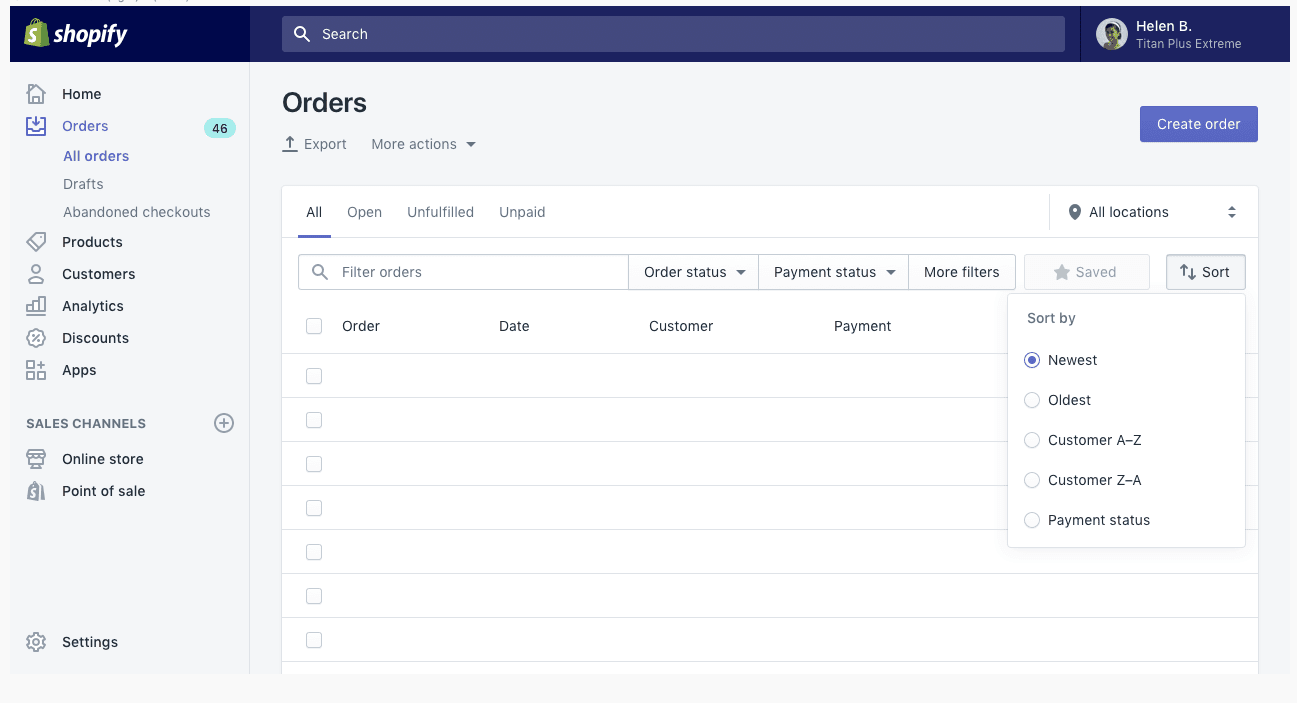
- Export orders:
- Go to the Orders page in your Shopify admin.
- Click Export. To export specific orders, select them first, or export by date range.
- Choose CSV format and decide whether to include transaction histories (only captured payments are included, not authorizations).
- Export customer data:
- Go to the Customers page.
- Click Export. Select specific customers or a customer segment if needed.
- Choose CSV format and click Export customers.
- Export products:
- Go to the Products page.
- Click Export, selecting specific products if you want a subset.
- Choose CSV format and click Export products.
- Export inventory, collections, and gift cards:
- Inventory has its own export under Products > Inventory. Gift cards export from the Gift cards page, and collections from the Collections list. Each follows the same Export > CSV flow.
- Export reports:
- Go to Analytics > Reports.
- Open the report you want, set the date range, apply filters, and add or remove columns.
- Click Export to download it as a CSV.
- Export discount codes:
- Go to the Discounts page.
- Click Export, selecting specific codes if needed.
- Choose CSV format and click Export discount codes.
That’s the full manual process. One important note: Shopify supports CSV export for products, customers, inventory, orders, and discounts, but orders and discounts are export-only (you can’t import them back via CSV).
Shopify export limits you should know
Most confusion around Shopify data export comes from not knowing the rules Shopify applies. These are the ones that matter, straight from Shopify’s own behavior:
- The 50-record rule: Export up to 50 orders (or the current page) and the CSV downloads straight to your device. Export more than 50, or export by date, and Shopify emails the file to you and the store owner instead. The same 50-record threshold applies to customer exports.
- Products with many variants or 51+ records: A product CSV is emailed rather than downloaded if you export 51 or more products, or if any single product has more than 100 variants. Export 50 or fewer products (all with under 100 variants) and it downloads in your browser.
- CSV and UTF-8 only: Shopify exports exclusively as CSV with UTF-8 encoding. The export dialog offers a “CSV for Excel, Numbers, and other spreadsheet programs” option, but it’s still a .csv file, not a native .xlsx. There’s no native PDF export. Editing the file in Excel and re-saving can corrupt the encoding, so confirm UTF-8 before importing anything back.
- Images aren’t included: A product CSV export does not contain the product images themselves, only the image URLs. Keep your original store live during a migration so images stay accessible.
- Customer CSV size cap: Exported customer files are limited to 15 MB. Large lists need to be split.
Knowing these upfront saves the “where did my download go?” moment. Big exports land in your email, not your browser.
How to automate data export from Shopify
Manual exports are fine occasionally, but doing them weekly gets old fast. Automating the process saves time and removes the human error that comes with repetition. The route is a dedicated Shopify data export app.
Here’s how setup generally works:
- Pick an app: Browse Shopify’s app store for a data export app that fits your needs and budget.
- Install and configure: Set it up according to your preferences.
- Customize the export: Choose the data fields, the frequency, and the destination.
- Activate scheduling: Turn on the automation and exports run on their own.
Popular Shopify data export apps
A few tools dominate this space in 2026, each with a different strength:
- Matrixify (formerly Excelify): Handles bulk import, export, update, and migration, with support for very large files and scheduled, auto-repeating jobs. Strong for full-store migrations across Excel, Google Sheets, and CSV.
- EZ Exporter: Focuses on customizable, scheduled CSV exports with flexible field selection and delivery to destinations like FTP, email, and cloud storage.
- BulkFlow: Lets you pick exactly which fields to include and schedule recurring order and data exports in CSV or Excel.
- StoreRobo: An import/export suite covering multiple data types and columns, with preset and scheduled jobs.
An automated Shopify data export app makes sense once your export needs become routine. For pure analysis rather than file wrangling, though, there’s a lighter path.
However, running all these steps might still seem like a hassle. That’s where Putler comes in.
Here’s how Putler helps you export Shopify data with ease.
How to export Shopify data using Putler
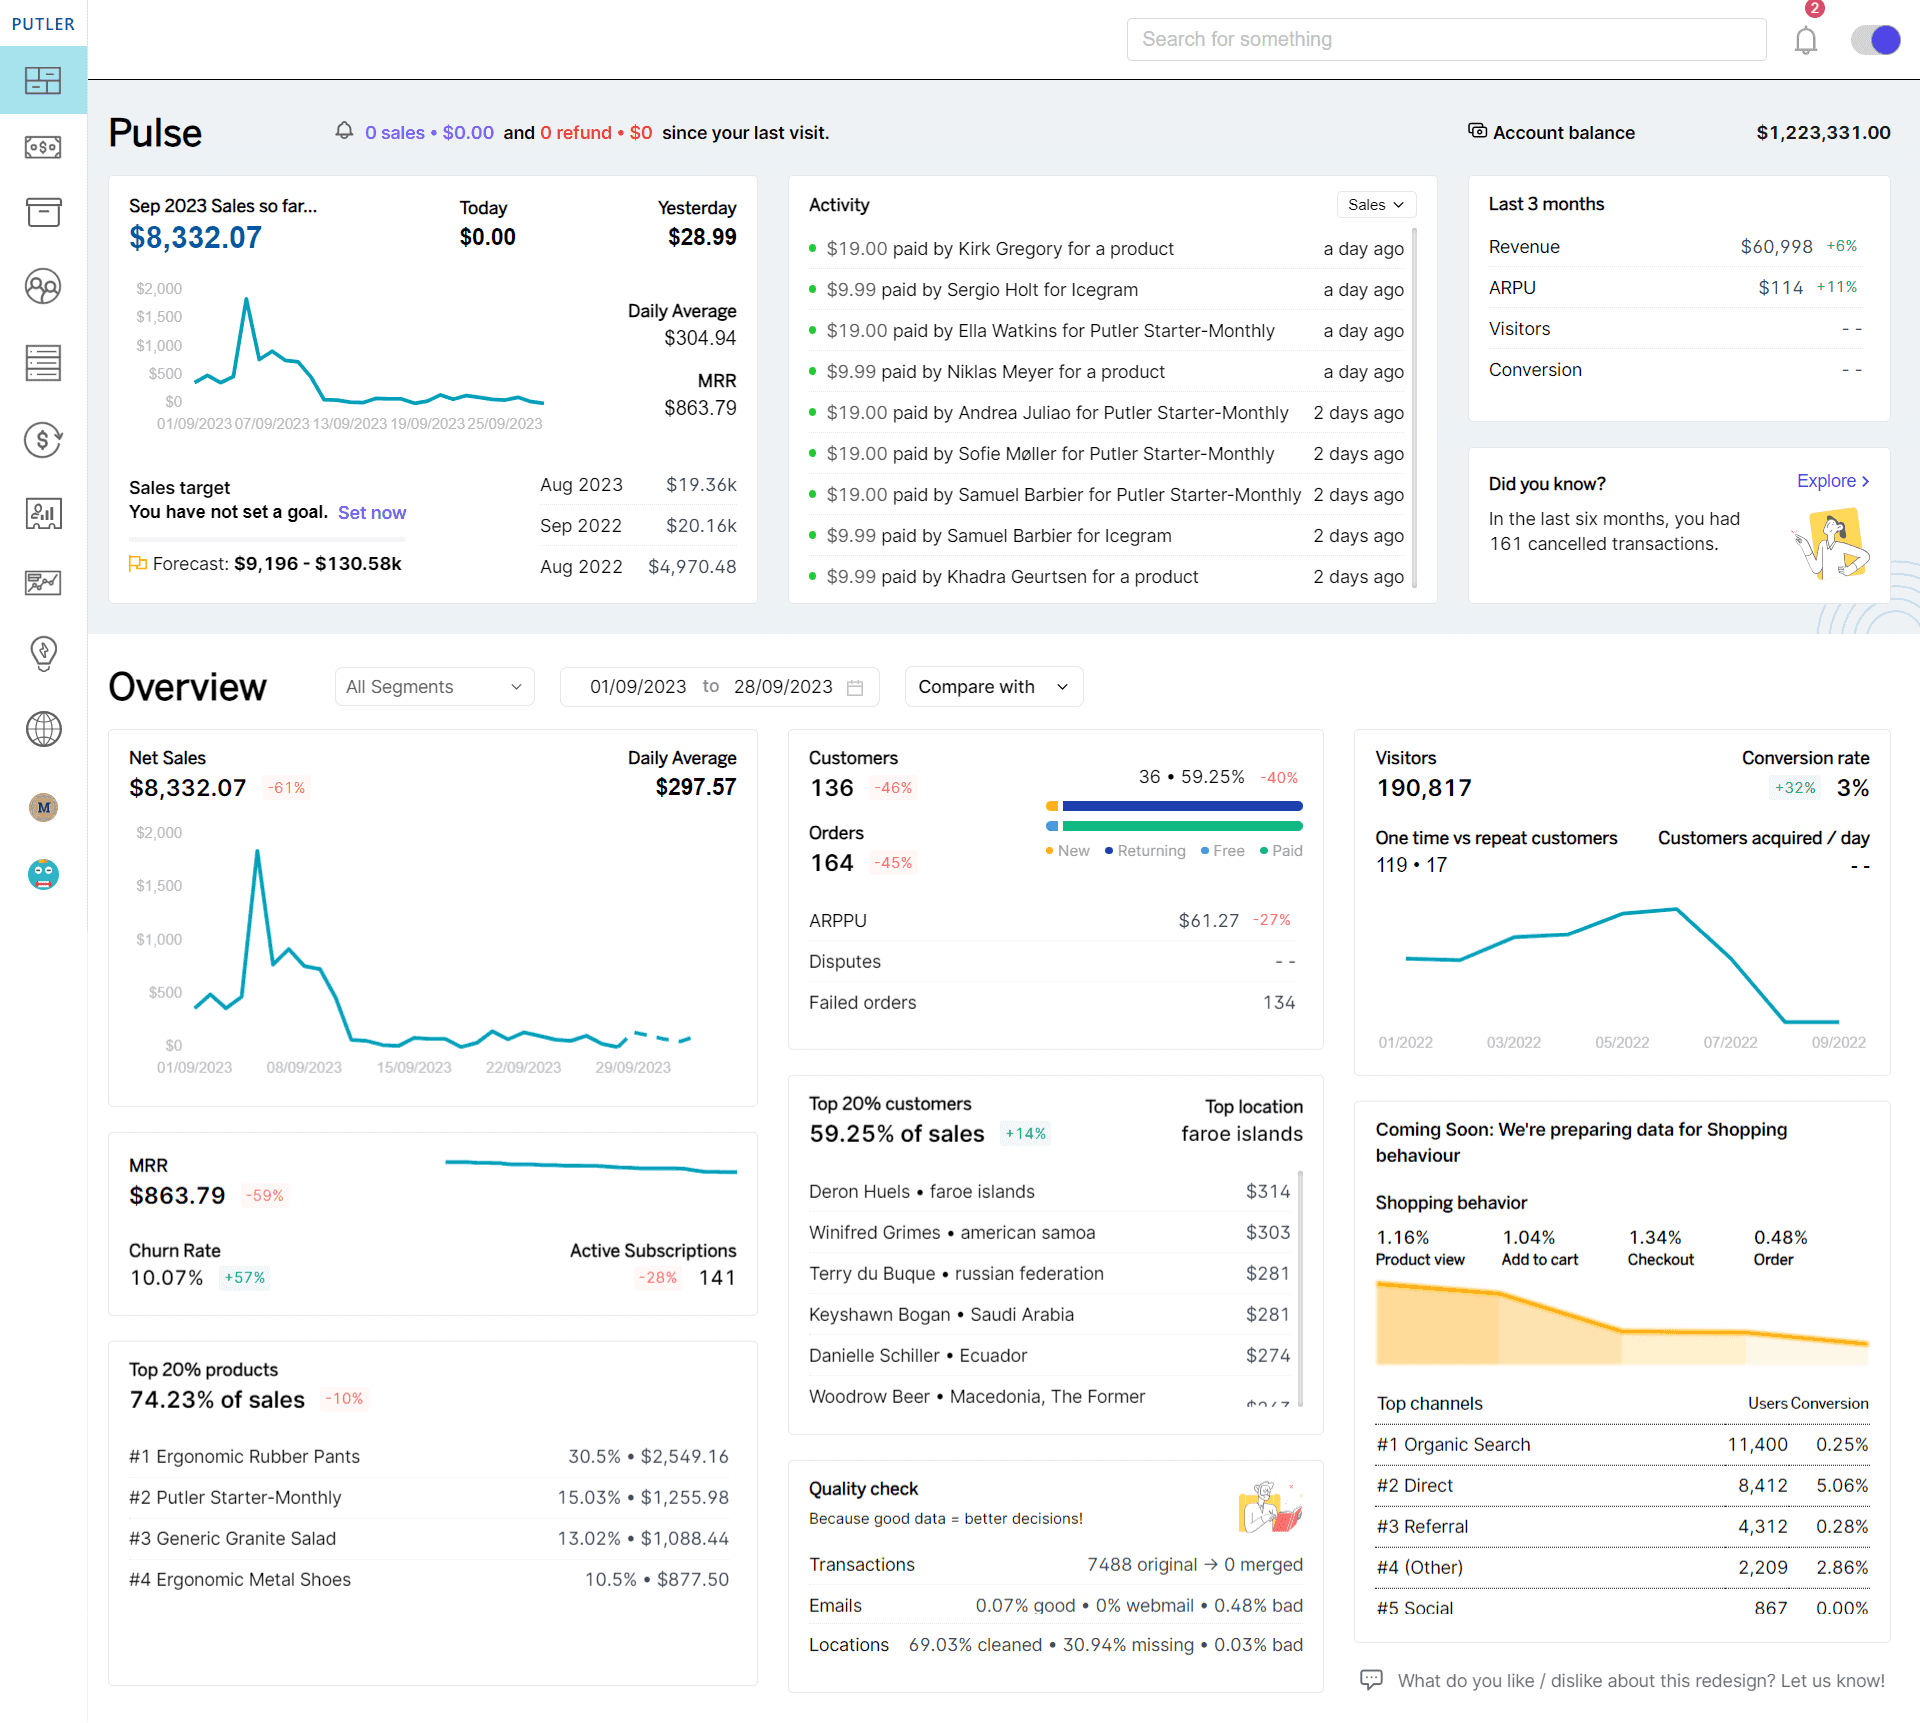
Putler is an analytics tool first, and that shapes how its export works. Instead of dumping raw tables, it lets you analyze your Shopify data, filter it down to exactly the segment you want, and export that. You can pull products, customers, orders, and more in a few clicks.
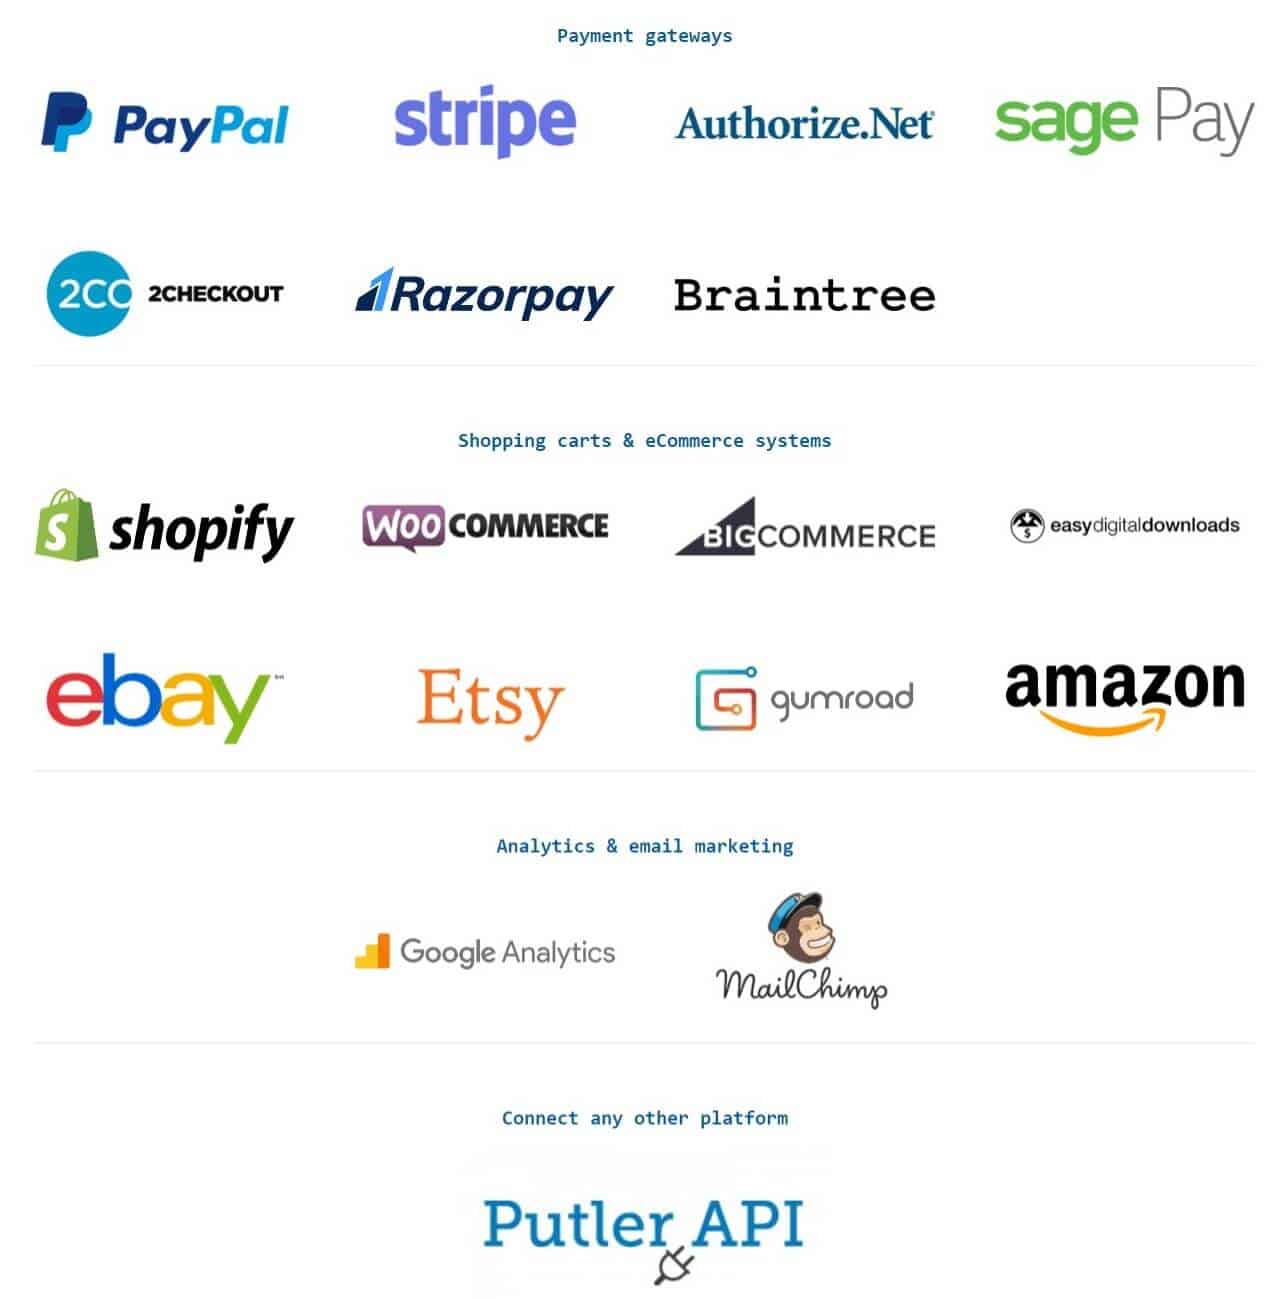
- Connect your data sources: Connect your Shopify store to Putler. It’s quick, and you can add more sources too. The more you add, the richer the insight.

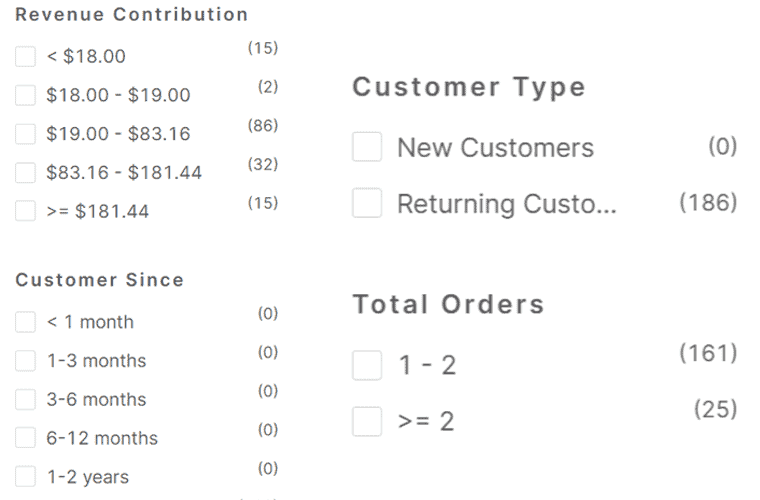
- Customize your export: Once the data is in Putler, export the complete set or filter it by parameters like:
- Number of orders
- Best-selling products
- Average price
- Type of customers
- Customer segment
and more. These let you dig as deep as you want and select the right export set.

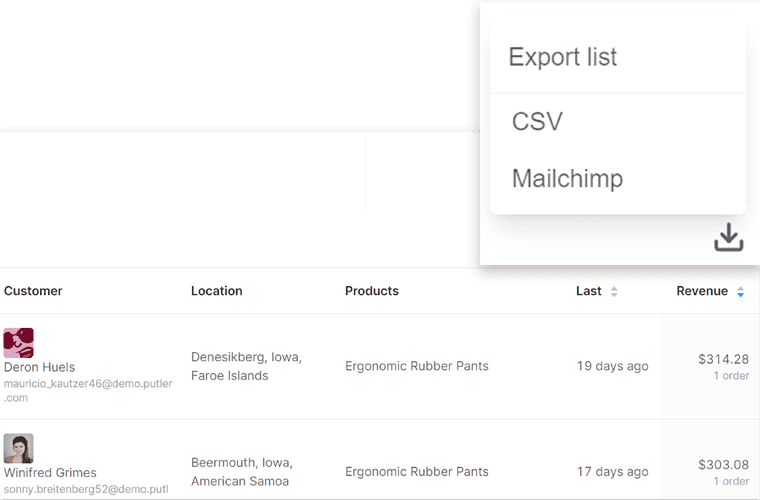
- Hit export: On the right of the product list you’ll find an export icon. Hover over it for the “CSV export” option, then click to download your data.


Bonus: To run an email campaign with a specific customer segment, you can export the list directly from Putler to MailChimp or Icegram Express, no CSV round-trip required.
Which is the best way to export data from Shopify?
The best method for a Shopify data export depends on what you’re doing.
For simple, occasional exports, the manual route is fine. You control it directly from the Shopify admin and it’s free.
For routine, scheduled exports, a Shopify data export app like Matrixify or BulkFlow saves time and removes the manual work.
For analysis and segmented exports, Putler is the smarter fit. It turns raw data into insight first, then lets you export exactly the slice you need.
Whichever you choose, the goal is the same: get your data where you can act on it. Once your exports are in place, use those insights to optimize your Shopify store for better conversions and growth.
FAQs
How do I export all orders from Shopify?
On the Orders page, click Export and choose to export all orders (or a date range). Because that’s more than 50 records, Shopify emails the CSV to you and the store owner rather than downloading it directly.
What file formats does Shopify support for data export?
Shopify exports exclusively in CSV format with UTF-8 encoding. Open these files in Excel, Google Sheets, or any spreadsheet program. There’s no native PDF export; for a PDF, open the CSV in a spreadsheet tool and save or print it as PDF from there.
Does a Shopify export include product images?
No. A product CSV export includes image URLs, not the image files themselves. Keep your original store live during a migration so those images stay accessible to the new store.
Is there a limit to how much data I can export from Shopify at once?
There’s no strict row cap, but large exports are batched and emailed. Exports over 50 orders or customers go to email, customer CSVs are capped at 15 MB, and exports with 100,000+ items can take hours. Filters help break them into smaller batches.
Can Shopify schedule automatic exports?
Not natively. Shopify’s built-in export is manual. For scheduled, recurring exports you need a Shopify data export app like Matrixify, EZ Exporter, or BulkFlow.
Exporting Shopify data is crucial for store owners looking to make data-driven decisions. While manual exports work for smaller stores, automating the process saves time and reduces errors—especially for businesses handling large datasets. I found that using third-party tools can simplify this process even further. Has anyone here tried different automation tools for data export? Would love to hear your experiences!