

Learning how to export Shopify orders is one of the most practical skills for running a store.
Shopify’s built-in export gives you a CSV of your order data in a few clicks, and knowing the process (and its limits) lets you use that data for backups, forecasting, accounting, and analysis outside the admin.
This guide covers how to export orders from Shopify manually, the exact rules Shopify applies to those exports, where the native tool falls short, and how Putler exports filtered, analyzed order data the default tool can’t.
Whether you need a quick Shopify export orders CSV or a filtered slice for analysis, both routes are covered below.
Why export Shopify order data?
Exporting Shopify orders is worth doing for a few concrete reasons:
- Backups and recovery: A regular export of order and customer data keeps a copy safe against accidental deletion or system errors.
- Forecasting and analysis: A CSV is the easiest format for building forecasts and running your own sales analysis.
- Product insights: Order exports help you refine your product portfolio, review costs, and spot what’s selling.
- Accounting and tax: Exported orders feed straight into bookkeeping, reconciliation, and tax reporting.
How to export Shopify orders manually
Exporting Shopify orders manually takes a few straightforward steps from your Shopify admin.
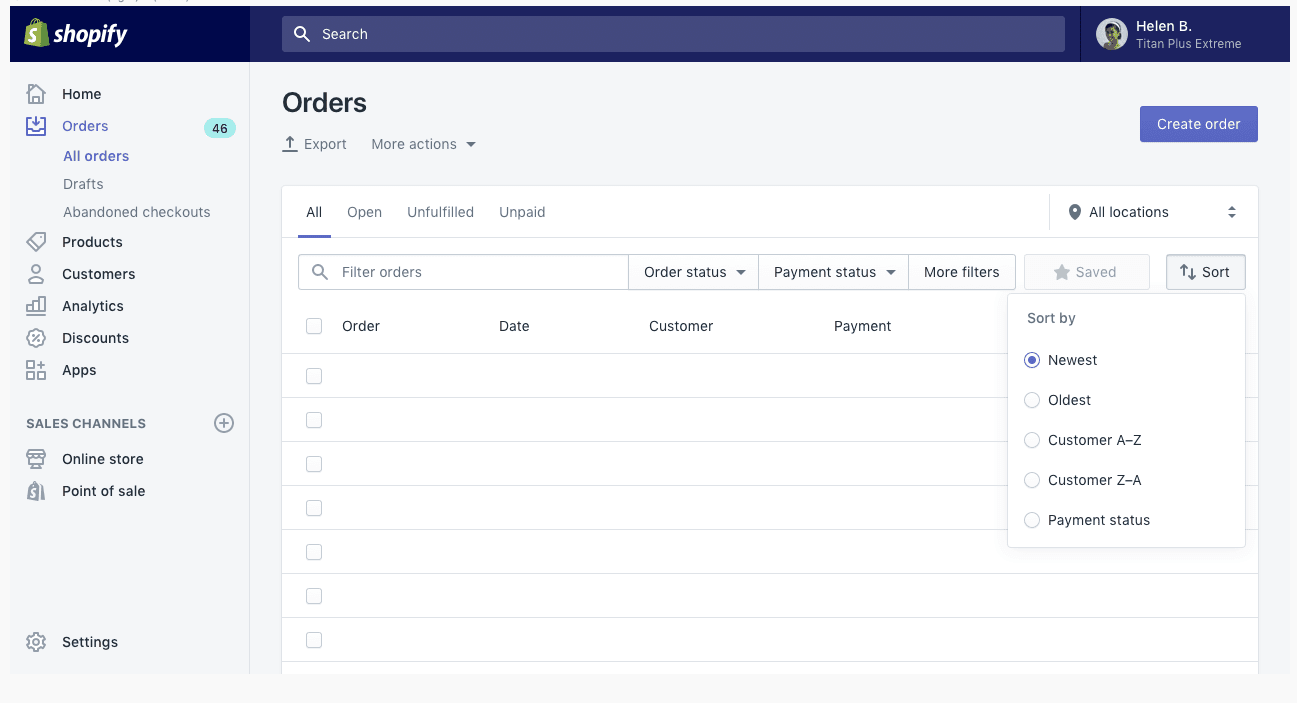
Step 1: Sort and filter your orders
By default, the Orders page shows newest orders at the top and oldest at the bottom. You can sort and filter by parameters like order number, date, customer name, payment status, total price, and fulfillment status. Go to the Orders section and filter the list down to what you need before exporting.
Step 2: Click Export
Once the list is filtered, click the Export button at the top right of the Orders page (marked with an upward arrow).
Step 3: Choose which orders and the file format
Shopify then gives you options for which orders to export:
- Current page of orders
- All orders
- Selected orders (if you checked specific ones)
- Orders by date (set a start and end date)
For file format, choose CSV for Excel, Numbers, and other spreadsheet programs, or plain CSV.
Step 4: Export orders or transaction history
Now pick what to download. These are two separate choices, not one:
- Export orders downloads all the order information.
- Export transaction histories downloads only the transaction data (captured payments; authorization data isn’t included).
Click the option you need and Shopify prepares your file.
Shopify order export rules you should know
Where your file lands depends on how much you export:
- The 50-order rule: Export up to 50 orders (or the current page) and the CSV downloads straight to your device. Export 51 or more, or export by date, and Shopify emails the file to you and the store owner instead.
- Large exports take time: Export duration scales with volume. An export under 100,000 items may finish in under an hour, while 400,000 items can take around 4 hours.
- CSV and UTF-8 only: Shopify exports as CSV with UTF-8 encoding. The “CSV for Excel” option is still a .csv file, just formatted for spreadsheet apps.
Limitations of exporting Shopify orders manually
The manual export is free and useful, but it isn’t a complete solution.
Several fields are missing from the native export, including cancellation reason, customer currency detail, applied taxes and discounts, order processing date and time, and referring-site data. That leaves gaps for deeper analysis.
There are practical limits too. The manual tool exports fixed sets of columns with no field selection, and large exports get batched and emailed rather than delivered on demand. For a store processing high order volumes, or one that needs specific fields and filters, the default way to export Shopify data quickly becomes limiting.
How to export Shopify orders with Putler
Putler is a multi-channel eCommerce analytics tool. Rather than dumping raw tables, it lets you filter and analyze your order data, then export the exact segment you want. Here’s what it can filter by.
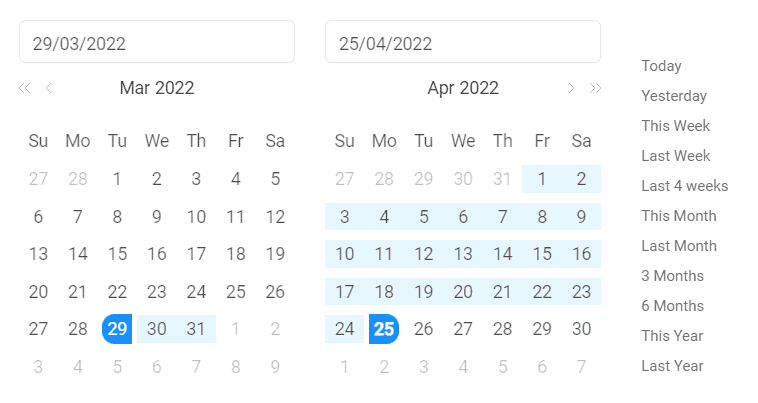
Export Shopify orders by date
In Putler, open the Orders section and go to Sort and Filter. You can sort by date (newest to oldest, or a specific range) and export that view as a CSV.
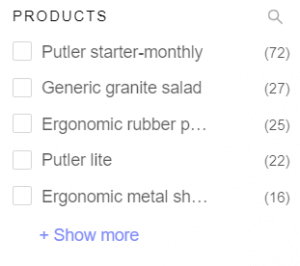
Filter Shopify orders by product
Want order data for one product only? Putler’s Order section has dedicated filters for exactly that.
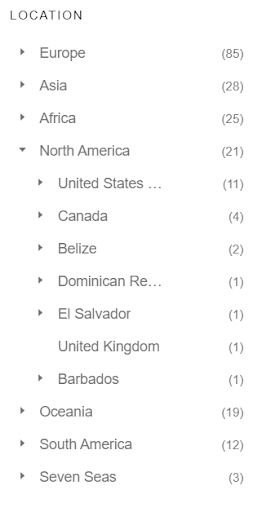
Filter Shopify orders by country
Putler lets you export order data by country. Select the country you want and you’ll have country-based order data ready, useful for regional analysis and tax work.
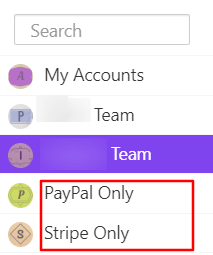
Export Shopify orders by payment method
Filter orders by the payment method customers used. This shows which methods are most popular so you can tailor offers accordingly.
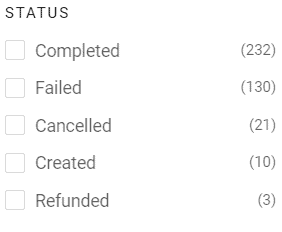
Export Shopify orders by status
Filter order data by status: placed, shipped, returned, or exchanged. Handy for tracking fulfillment and returns.
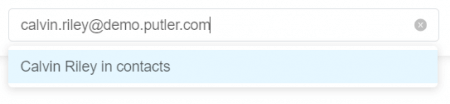
Export Shopify orders by email
Need order details for marketing or support? Putler can filter order data by customer email. Enter one email or many, and the order data is filtered to match.
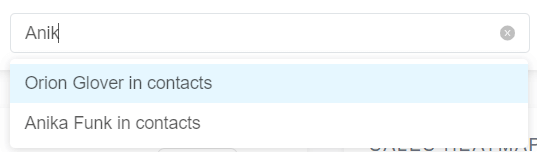
Export Shopify orders by name
Export orders by customer or product name using a dedicated filter. Useful when you need to assist a customer or resolve a grievance for a specific order.
Export Shopify orders by attribute
Putler also filters by attributes like license type, subscription used, and customer loyalty program, so your export can be as specific as you need.
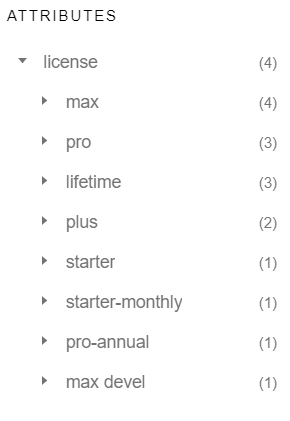
This level of filtered, action-specific export isn’t possible with the default manual Shopify export. A dedicated analytics tool is what makes it possible.
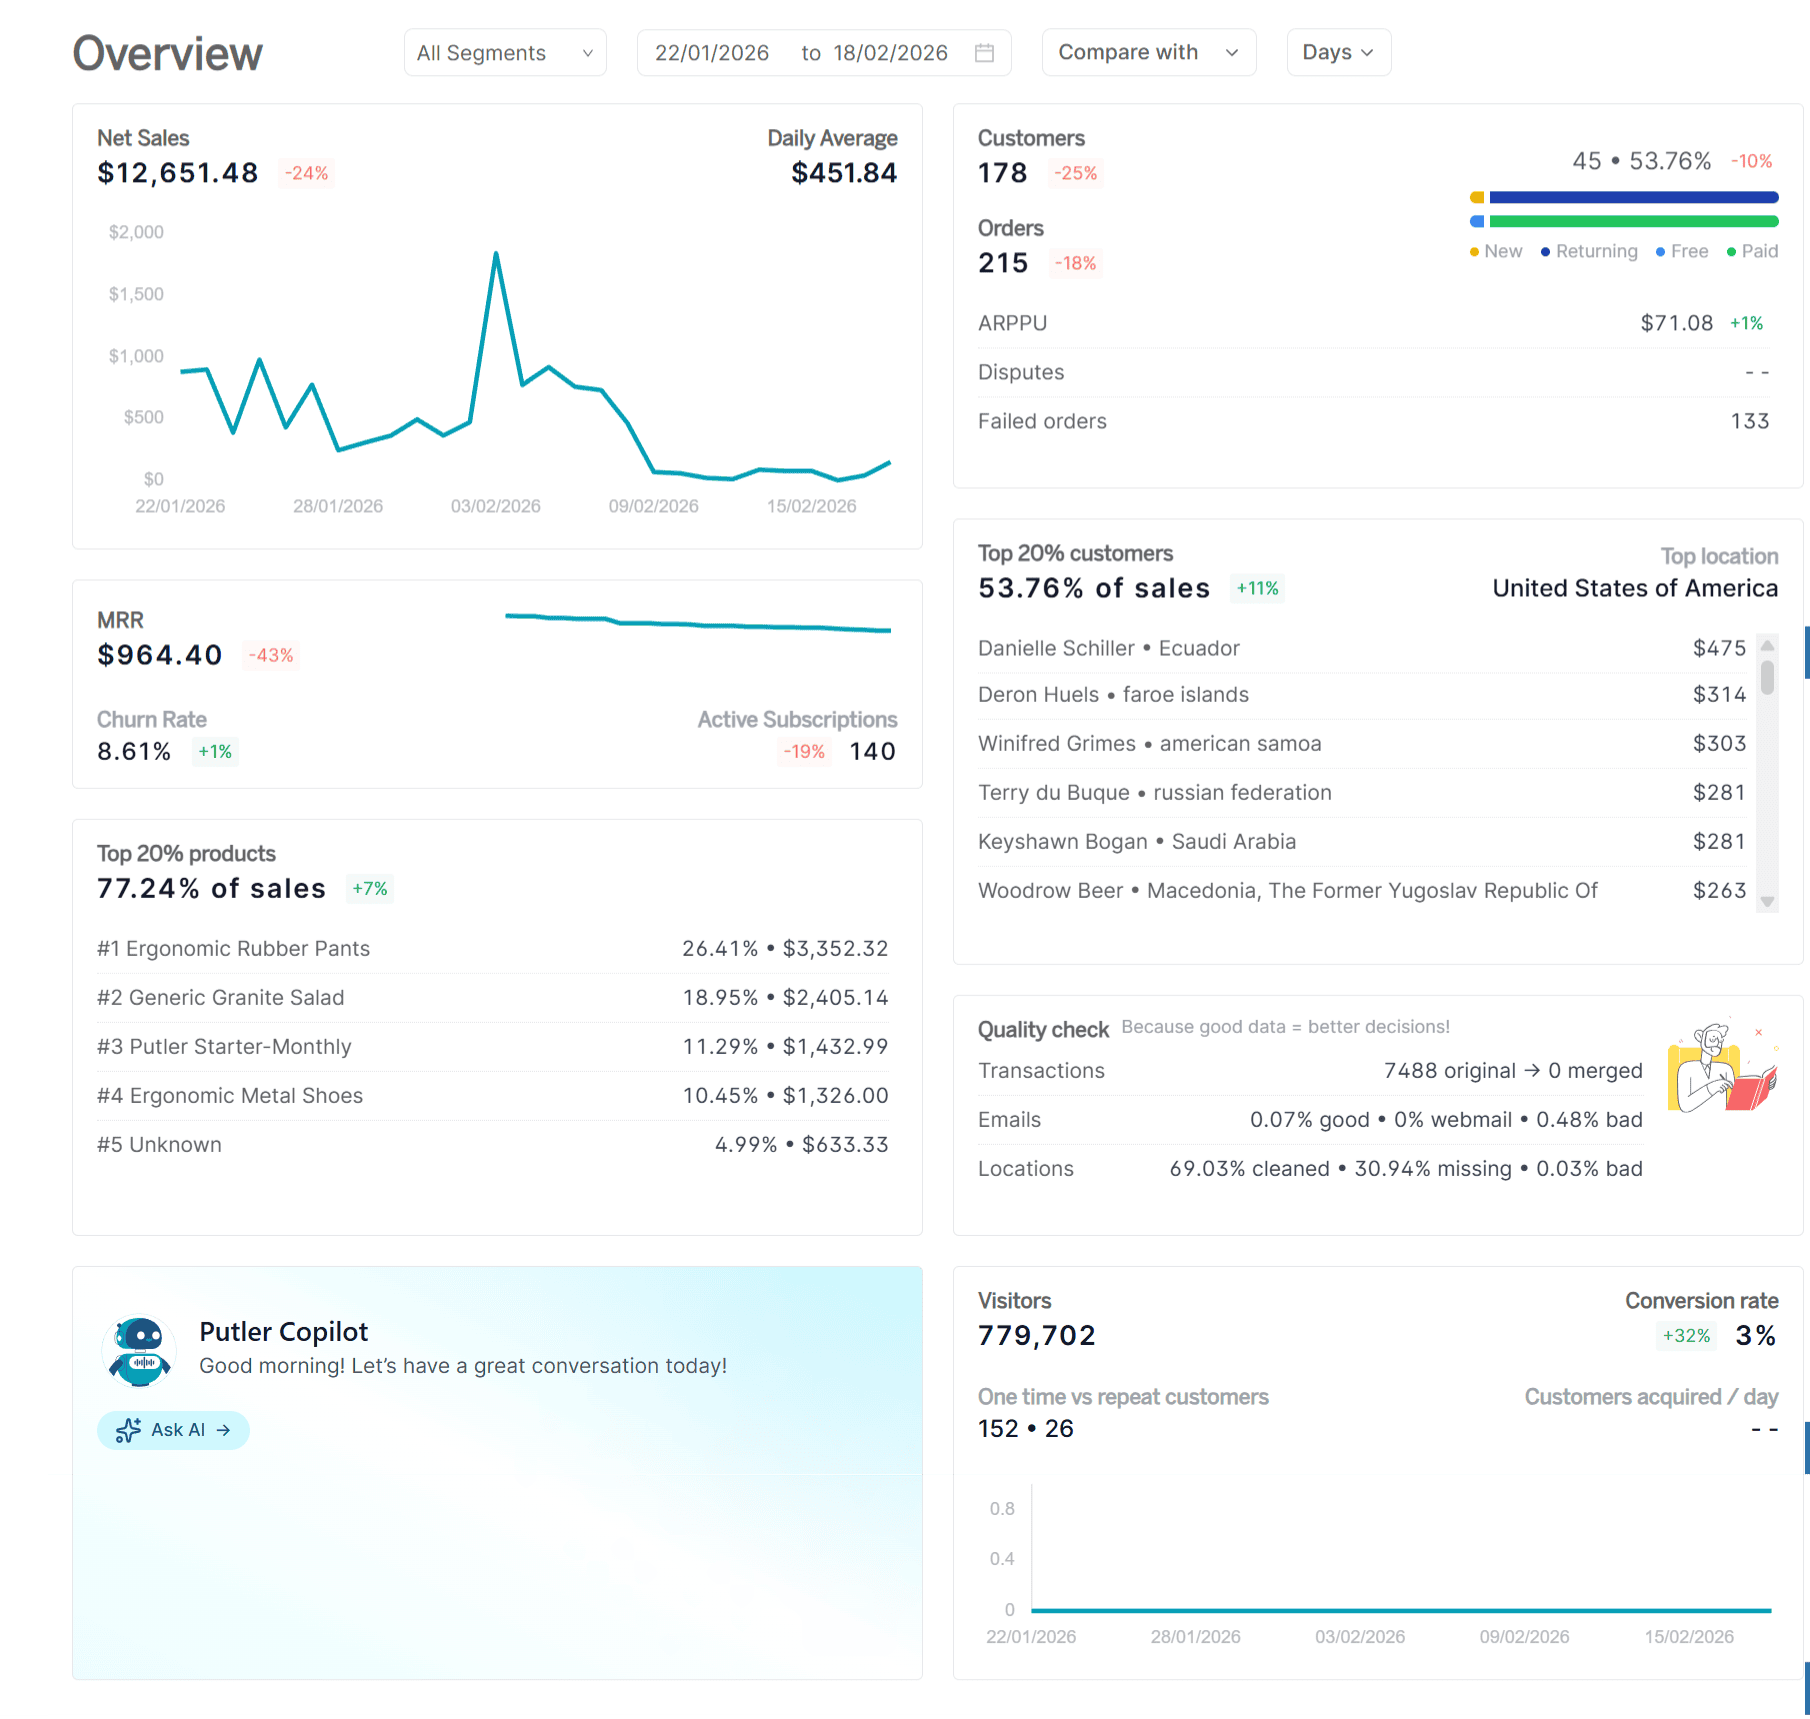
Here’s the Putler dashboard for a Shopify store before we wrap up:
Wrapping up
Shopify’s native export handles the basics of exporting orders well, and knowing the 50-order rule and the orders-vs-transactions choice covers most of what trips people up. Where it stops short is field selection, filtering, and multi-store reporting.
That’s where Putler helps: filtered order exports, detailed Shopify insights, and multi-store reporting in one place. Beyond orders, it can also export Shopify products and customer details. Alongside Shopify, Putler supports WooCommerce, Etsy, and BigCommerce order exports too, so it grows with you as you expand.
FAQs
How do I export all orders from Shopify?
On the Orders page, click Export, choose “All orders,” pick your format, then click Export orders. Because that’s more than 50 records, Shopify emails the CSV to you and the store owner rather than downloading it directly.
What’s the difference between Export orders and Export transaction histories?
“Export orders” downloads all order information. “Export transaction histories” downloads only the transaction data (captured payments). They’re separate choices in the export dialog.
Why is my Shopify order export emailed instead of downloaded?
Exports of up to 50 orders (or the current page) download directly. Exports of 51 or more orders, or by date range, are emailed to you and the store owner instead.
Can I export Shopify orders with specific fields only?
Not with the native export, which uses fixed columns. For field selection and custom filters, use a dedicated tool like Putler or a third-party export app.
- Shopify export products: The complete guide
- Shopify Export: How & why to export your products, orders, customer data from Shopify
- Shopify Google Analytics: Step-by-step guide
- Shopify vs WooCommerce comparison: Which is the better eCommerce platform?
- BigCommerce Vs Shopify: A detailed analysis of the best eCommerce platforms
- Top issues faced by Shopify stores in reporting and their solution
- How to optimize your Shopify store for more sales