
If you’re here, you’re probably wondering whether running multiple Gumroad accounts is worth the hassle, or maybe you’re already juggling a few and feeling a bit overwhelmed.
I get it.
I’ve been watching creators transform their businesses using this strategy for years, and the results can be incredible.
But let’s be real, it’s not all sunshine and easy money. There are genuine challenges, smart strategies, and some tools that can save your sanity
In this guide, I’m not just discussing the good and the challenging aspects of managing multiple Gumroad accounts.
I’m also providing you with practical solutions that have been proven to work. Are you ready to dive in and take control of your business?
What are multiple Gumroad accounts?
Let me break this down for you in the simplest way possible.
Multiple Gumroad accounts mean you’re running several separate seller profiles on the Gumroad platform, where each account has its own distinct identity, branding, and product lineup.
Instead of combining all your products and services into a single account, multiple Gumroad accounts allow you to create distinct business identities on the platform.
Each account operates independently with its own customer base, product catalog, and brand personality.
Now that you understand the concept, you’re probably wondering why anyone would want to complicate their life with multiple accounts in the first place.
What are the business use cases for multiple accounts?

Here’s where things get interesting. Creators use multiple Gumroad accounts for some pretty smart strategic reasons:
- Brand separation: A fitness coach running one account for beginner workouts and another for advanced bodybuilding programs.
- Audience targeting: A designer with one account for corporate templates and another for quirky indie graphics.
- Product categories: A developer separating productivity apps from creative tools.
- Professional vs personal: Keeping your serious business courses separate from your fun hobby projects.
- Testing new niches: Experimenting with different markets without confusing your existing audience.
These use cases sound pretty compelling, right? But before you start setting up five different accounts, there are some important rules and limitations you need to know about.
Account structure and limitations
Every system has its rules, and Gumroad is no exception.
-
Email requirements
Each account needs its own unique email address. No sharing, no shortcuts.
You can’t share Twitter logins across accounts either, so if your Twitter is connected to one account, it can’t be connected to another.
-
Merging accounts
you can’t combine or transfer products between accounts due to technical limitations. Everything needs to be created from scratch.
-
Pricing and fee limits
There’s a $5,000 price limit per product, though you can contact Gumroad for manual verification if you need to go higher.
Also, you can’t resell products you didn’t create, and there are restrictions on adult content, discriminatory material, and various other categories.
-
Cost
Every account pays the same 10% flat fee per sale, no monthly charges. Having multiple accounts doesn’t change this rate, so you’re not penalized for being organized.
-
Payouts
Your earnings become available 7 days after a sale and are automatically transferred every Friday.
This applies to each account separately, so you’ll get multiple payout streams if you’re running multiple Gumroad stores.
For more information, check Gumroad’s terms and conditions.
Before we jump into the step-by-step setup, keep the rules above in mind — especially the unique-email requirement, product/price limits, and payout cadence — so you don’t run into surprises while creating additional accounts.
How to create multiple Gumroad accounts?
Alright, now let’s create these accounts. I’ll walk you through this step-by-step, and honestly, it’s way easier than most people think.
The hardest part is usually just deciding on your email strategy.
What do you need before starting?
Before we dive in, let’s make sure you’ve got everything lined up.
Email addresses: This is your most significant requirement, and honestly, the one that stumps most people.
You need a unique email address for each Gumroad account – no exceptions, no clever workarounds with plus signs or dots. I’m talking about completely separate email addresses.
Here’s my recommendation: create a logical system from the start. If your main email is sarah@gmail.com, consider setting up:
- sarahfitness@gmail.com for your fitness account
- sarahdesign@gmail.com for your design work
- sarahcooking@gmail.com for your recipe business
Payment information: You’ll need to set up payment details for each account. The good news?
You can use the same bank account for payouts across multiple accounts since it’s all your money anyway. But you’ll want to keep clear records for tax purposes.
Content and products ready: While not technically required for account creation, I always recommend having at least your first product ready to go.
It helps you test the entire setup process, ensuring everything works before you start driving traffic.
How to set up your accounts step-by-step?
Step 1: Visit Gumroad and start the sign-up process
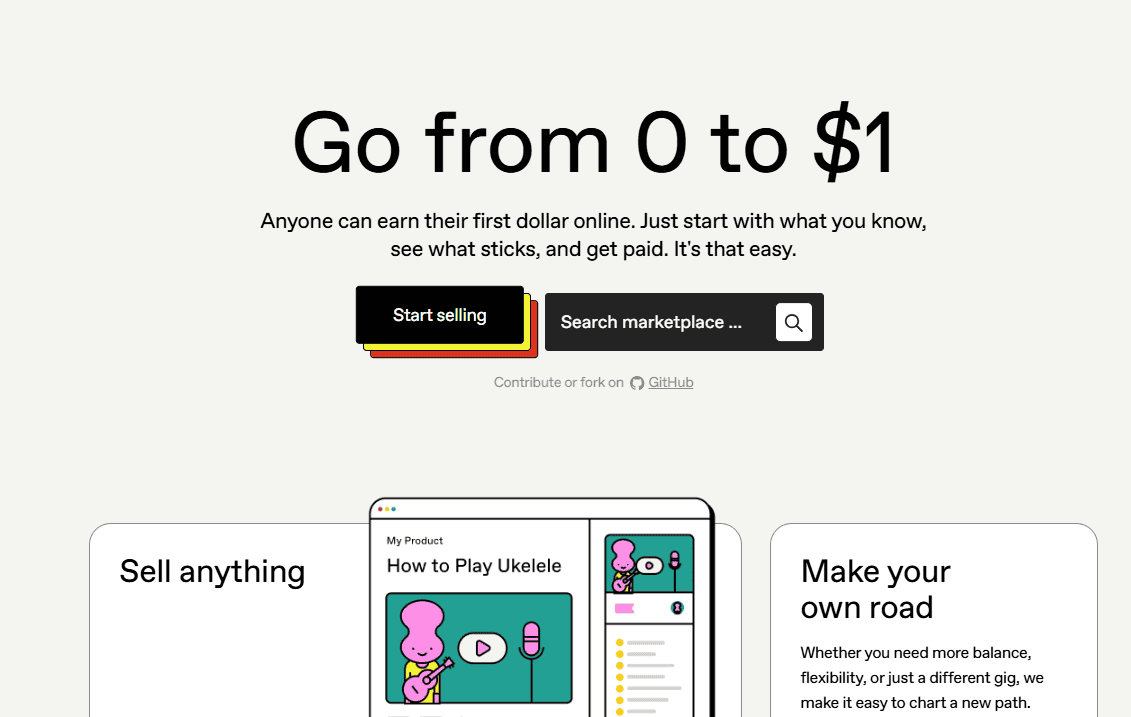
Navigate to Gumroad’s homepage:
- Go to gumroad.com in your web browser
- Look for the “Start Selling” button in the top-left corner of the homepage
- Click “Start Selling” to begin the account creation process
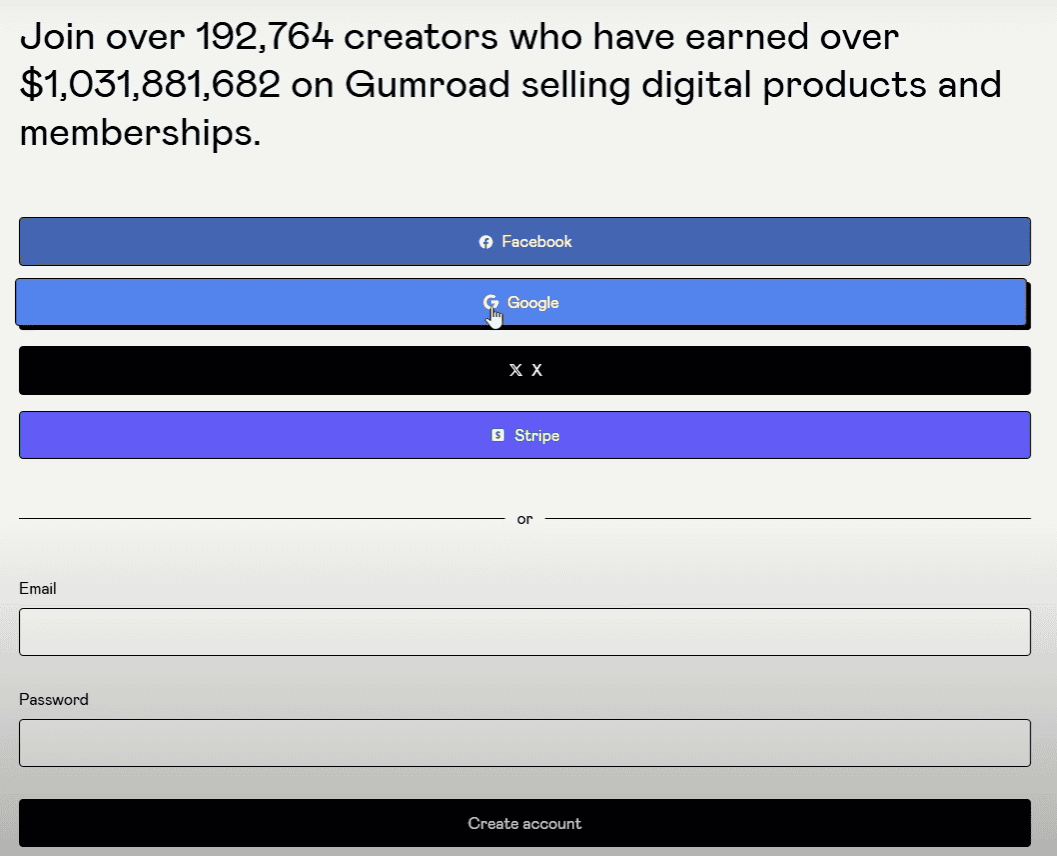
Choose your sign-up method: Once you click “Start Selling,” you’ll be taken to the sign-up page, where you have several options:
- Email and password: Enter your email address and create a password (recommended for multiple accounts)
- Google account: Link to your existing Google account
- Facebook account: Connect using your Facebook credentials
- Twitter/X account: Sign up using your Twitter account
- Stripe account: Connect directly through your Stripe account
Step 2: Complete the registration process
Enter your basic information:
- Email address: Use a unique email for each account you plan to create
- Password: Create a strong, secure password
- Full name: Enter your real name or business name
- Username: Choose a unique username (this becomes part of your store URL)
Email verification:
- Check your email inbox for a verification message from Gumroad
- Click the verification link in the email to confirm your account
- If you don’t see the email, check your spam folder
- Complete any two-factor authentication steps if prompted
Step 3: Access your Gumroad dashboard
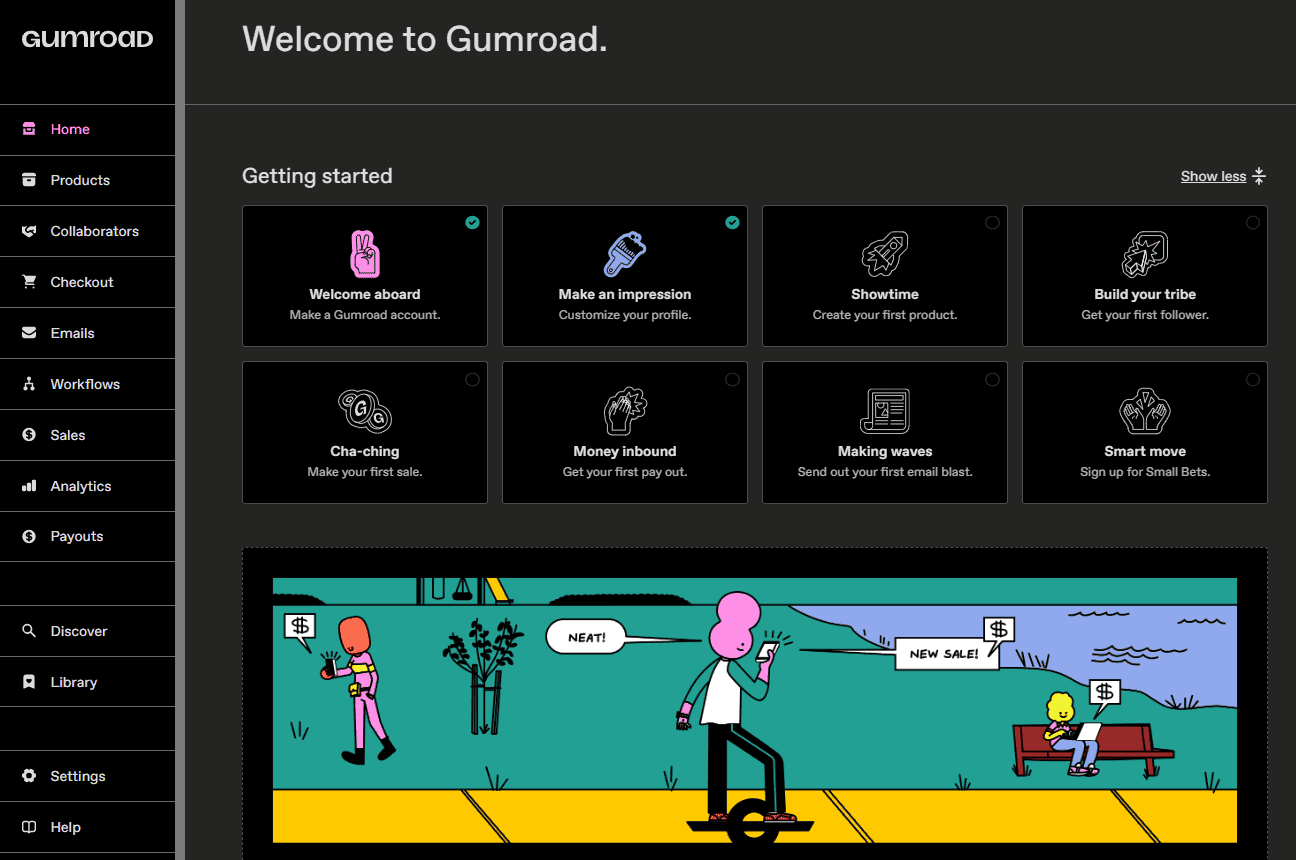
Initial dashboard overview: After verification, you’ll be redirected to your Gumroad dashboard. Here’s what you’ll see:
- Clean, simple interface with navigation menu on the left
- Main dashboard area shows your account overview
- “Create your first product” button prominently displayed
- Your name appears in the top section of the dashboard
Step 4: Set up your creator profile
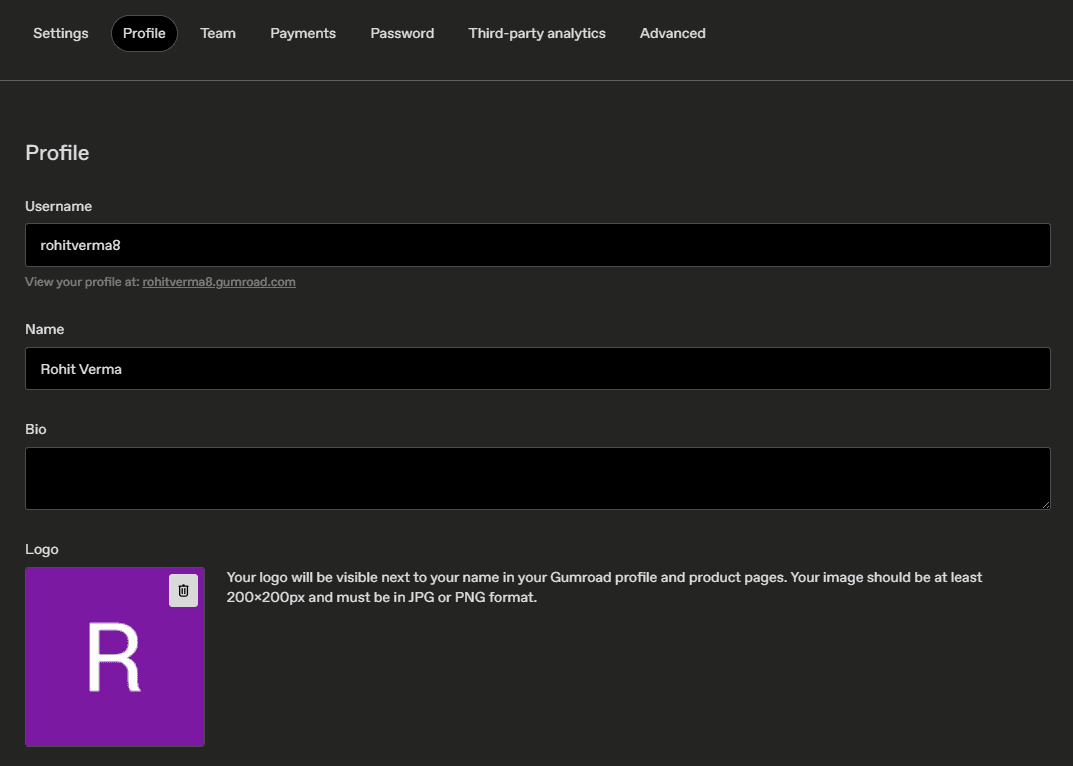
Profile picture:
- Click on your profile section
- Upload a high-quality profile picture or logo
- For personal brands: Use a professional headshot
- For business brands: Upload your company logo
- Recommended size: Square format, at least 400×400 pixels
Bio and description:
- Write a compelling bio that explains what you create or sell
- Keep it concise but informative (2-3 sentences work well)
- Include your expertise, experience, or what makes you unique
- Use keywords relevant to your niche
Username and store URL:
- Your username becomes part of your store URL (gumroad.com/yourusername)
- Choose something memorable and brand-relevant
- You can change this later, but it’s better to get it right from the start
Step 5: Configure payment settings
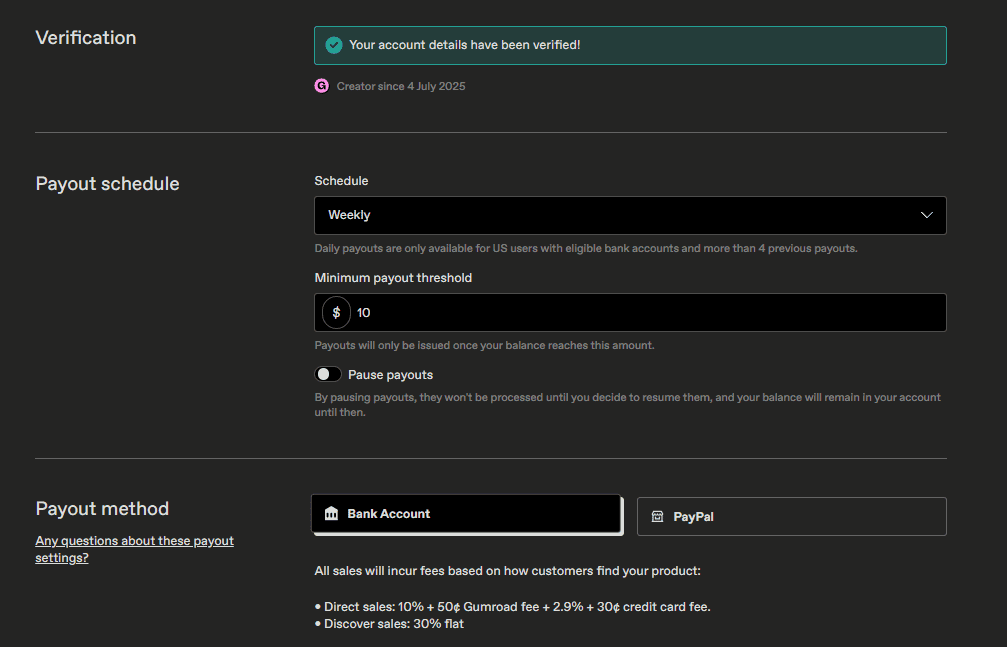
Choose your payment method: Navigate to Settings > Payments and select your preferred option:
- PayPal: Connect your existing PayPal account
- Direct bank transfer: Available in select countries (US, UK, Canada, etc.)
- Stripe: For credit card processing integration
Currency selection:
- Choose your preferred currency from the “Sell in…” dropdown
- Available options include
USD, GBP, EUR, JPY, AUD, CAD, and many others - While you can display prices in various currencies, all transactions get processed in USD
Tax information:
- As of January 2025, Gumroad handles all tax obligations automatically
- You don’t need to set up tax settings – Gumroad manages sales tax collection and remittance worldwide
- This includes VAT, GST, and other international tax requirements
Step 6: Customize your store’s appearance
Store theme:
- Choose from Gumroad’s pre-designed themes
- Select colors that match your brand identity
- Customize the overall look and feel of your storefront
Custom branding:
- Add your logo to the store header
- Set brand colors for consistency
- Choose fonts that reflect your brand personality
Store information:
- Set your store name (can be different from your username)
- Create a custom store URL if desired
- Add any additional branding elements
Available integrations:
- Currently, Gumroad supports Twitter/X integration
- Remember: Each account can only connect to one unique social media profile
- Plan your social media strategy accordingly for multiple accounts
Step 8: Create your first product

Product creation basics:
- Click “Add a Product” or “Create Your First Product”
- Choose your product type (digital download, subscription, physical product, etc.)
- Upload your product files
- Set your pricing
Product information:
- Write a compelling product title
- Create a detailed product description
- Add high-quality cover images or thumbnails
- Set up any product variations or versions if needed
Step 9: Test your setup
Before going live:
- Review all your profile information for accuracy
- Test the product upload process
- Verify your payment settings are correct
- Check how your store looks to potential customers
Test purchase (optional):
- Consider making a small test purchase using a different email
- Verify that the entire customer experience works smoothly
- Check that the download links and notifications work properly
Step 10: Publish and launch
Final review:
- Double-check all settings and information
- Ensure your profile presents professionally
- Verify your product descriptions are complete and compelling
Go live:
- Publish your first product
- Share your store URL to start driving traffic
- Begin promoting your Gumroad store through your chosen marketing channels
The entire process typically takes 10–15 minutes per account once you have your materials ready (profile pictures, bio text, product files, etc.).
Congratulations! You’ve got your accounts set up. But here’s where the real challenge begins.
Major difficulties in managing multiple Gumroad accounts
I’ve watched plenty of creators jump headfirst into multiple accounts, only to find themselves drowning in complexity a few months later.
1. Product performance confusion
You’re constantly juggling so many products across different accounts that it becomes genuinely difficult to track which ones are actually making money.
One day, you’re checking sales on your fitness account, the next, you’re trying to remember if your design templates are still selling.
And before you know it, you’ve lost track of what’s working and what’s just sitting there collecting digital dust.
2. Separate payment gateway chaos
Tracking payments becomes a nightmare when money is flowing into multiple accounts at different times through different payment methods.
You might have PayPal for one account, direct bank transfer for another.
Suddenly, you’re spending hours each week just figuring out where your money is coming from and whether all your payments actually arrived.
3. Marketing overwhelm
Every single account needs its own marketing strategy, social media presence, email campaigns, and promotional schedule.
What used to be one Instagram account to manage is now three or four, each requiring unique content, different posting schedules, and separate audience engagement.
This can easily turn into a full-time job just keeping up with social media.
4. Analytics fragmentation
Your business data is now scattered across multiple dashboards with no easy way to see the big picture.
Instead of having a clear view of your overall performance, you’re constantly logging into different accounts, manually adding up numbers, and trying to piece together trends that might be obvious.
I know that sounded pretty overwhelming, and honestly, it can be. But here’s the good news: there’s a solution that handles most of these headaches for you.
How Putler solves multiple Gumroad account management challenges
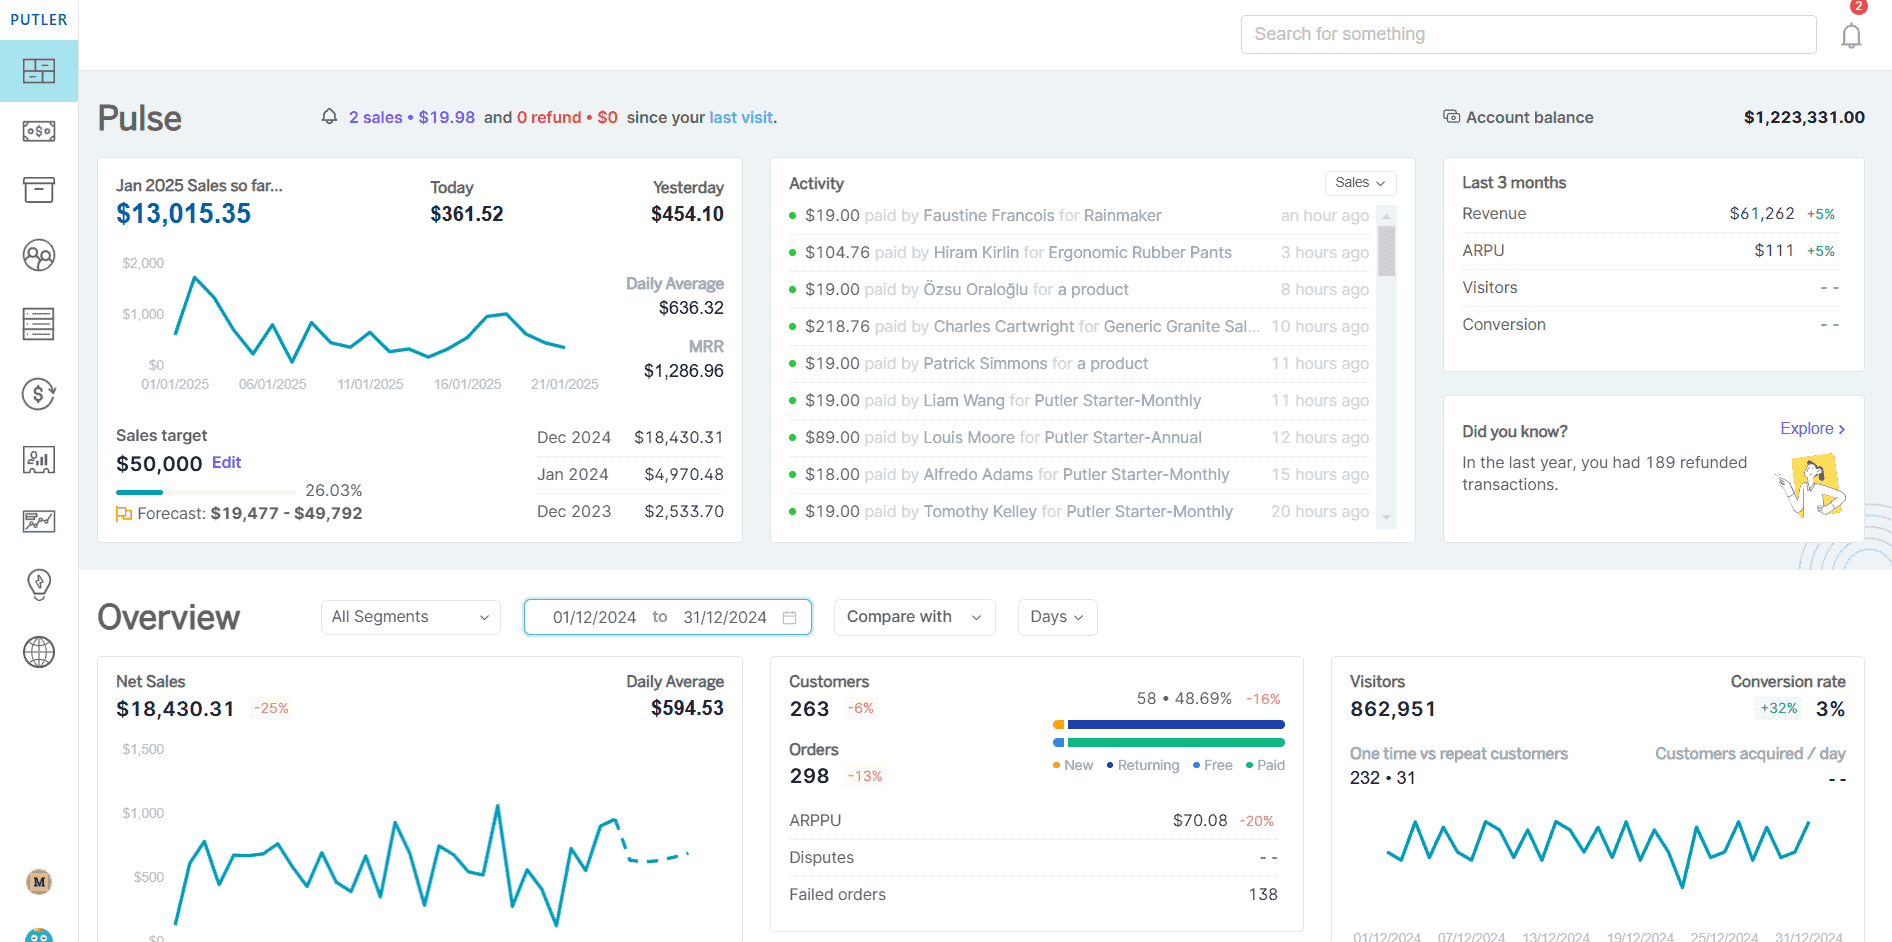
Putler is a multichannel analytics platform that consolidates data from multiple business sources into a single dashboard.
The platform connects to over 17+ different payment processors, eCommerce platforms, and analytics tools to give you a unified view of your entire business operation.
Instead of logging into separate accounts to check your sales, track payments, and analyze performance, Putler pulls all your data together and presents it in one organized interface.
What features does Putler offer?
Here’s exactly what Putler brings to the table:
-
Multichannel data integration
Putler connects directly to your Gumroad accounts, payment processors like PayPal and Stripe, Google Analytics, and other eCommerce platforms.
Once connected, it automatically imports and syncs your data in real-time, so you always have up-to-date information about your business performance.
-
Unified dashboard
The platform provides a comprehensive dashboard that shows key metrics from all your connected accounts.
You can see total sales, revenue trends, customer information, and product performance across all your different Gumroad accounts without manually compiling the data yourself.
-
Advanced analytics and reporting
Putler offers over 200+ different business metrics and KPIs. You get detailed reports on sales performance, customer behavior, product analytics, and revenue forecasting.
The platform can identify trends and patterns that might not be obvious when looking at individual accounts separately.
-
Multi-currency and multi-store support
If you’re running Gumroad accounts in different currencies or serving international markets, Putler automatically handles currency conversion and normalization.
You can view your performance in your preferred currency while still maintaining accurate records for each individual account.
-
Customer segmentation and profiling
The platform automatically segments your customers based on purchasing behavior, creating profiles for loyal customers, at-risk customers, and new customers.
This segmentation works across all your connected accounts, giving you a complete picture of your customer base.
Conclusion
Managing multiple Gumroad accounts isn’t a magic bullet, but it can be a total game-changer when done right. You’ve seen the advantages, the challenges, and some solid solutions to make it all manageable.
My advice? Start small. Pick two distinct niches, set up your accounts properly, and see how it feels. Don’t try to launch five accounts at once – that’s a recipe for burnout.
Remember, tools like Putler can handle the heavy lifting on the analytics side, but the real success comes from understanding your audiences and creating stuff they genuinely want.
FAQs
Can I have multiple Gumroad accounts?
Yes, Gumroad allows multiple accounts, but each must have a unique email and they can’t be merged later.
Can I use the same email for multiple Gumroad accounts?
No, each Gumroad account requires a unique email address with no exceptions or workarounds.
Can I merge or transfer products between accounts later?
No, account merging is not possible due to technical limitations – everything must be created from scratch.
Can multiple accounts use the same bank account for payouts?
Yes, you can use the same bank account for payouts across all your multiple accounts.
Do I pay extra fees for having multiple accounts?
No, there are no additional fees – each account pays the standard 10% fee per sale with no monthly charges.
Can I connect the same social media accounts to multiple Gumroad accounts?
No, each account can only connect to one unique social media profile – you’ll need separate social accounts for each store.
- Manage Multiple PayPal Accounts Easily – Best Methods & Tools (Updated Guide 2025)
- Multiple Stripe Accounts: Ultimate Guide to Managing Stripe for Multiple Businesses
- Multiple Shopify Stores: Step-by-Step Guide for Managing Multiple Shopify Shops from One Place
- BigCommerce Multiple Stores: Setup, Tools & Pro Tips
- How to Manage Multiple WooCommerce Stores Like a Pro
This article is super helpful for anyone wanting to set up multiple Gumroad accounts! The step-by-step guide is clear and easy to follow, especially the part about unique email addresses. Great insights on the challenges too.
Really glad that you found it useful.
Thanks for the great article!
Thanks for the kind words.