


You can export orders from WooCommerce without a plugin. Go to WooCommerce → Analytics → Orders, choose a date range, and click Download above the table. If you’re sending orders to a warehouse and need fields like SKU and shipping address, use a dedicated order export plugin to choose the columns.
| What you need | Where to export |
|---|---|
| A CSV to review order activity and net sales from one store | WooCommerce Analytics Orders report |
| A CSV with selected order item or address fields | Advanced Order Export for WooCommerce |
| A filtered sales or transaction report across stores you've connected | Putler |
Export orders from WooCommerce without a plugin
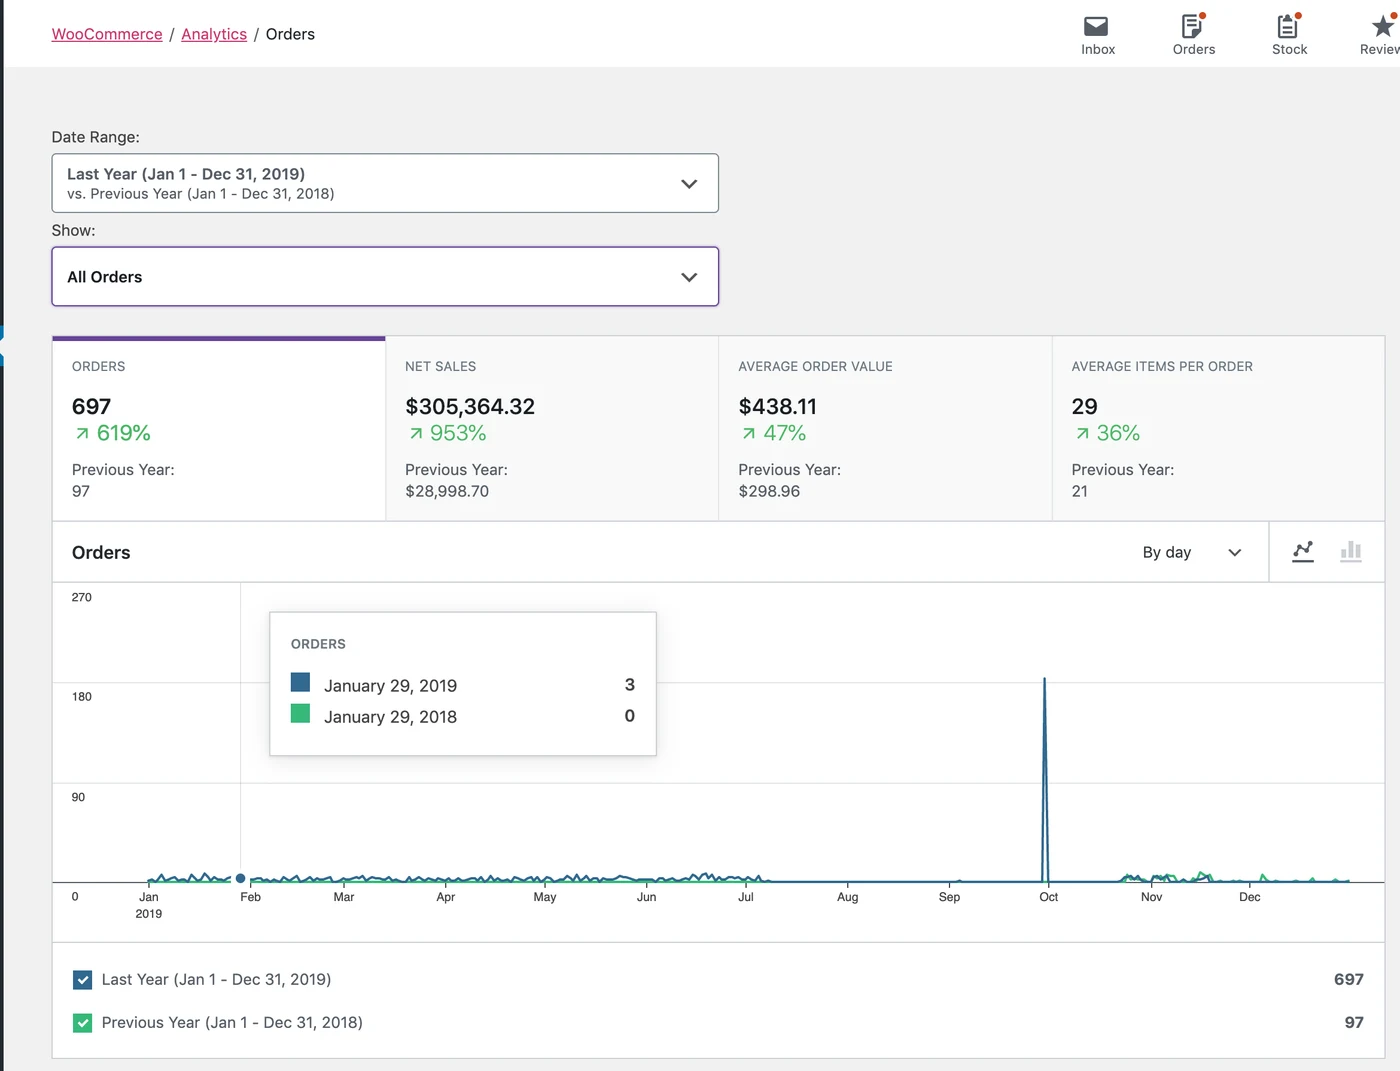
This screenshot shows the Orders report overview. Scroll to the report table to find Download above it.
- In WordPress, go to WooCommerce → Analytics → Orders.
- Set the date range you want to review. Open Advanced Filters if you need to narrow it by order status, product, or coupon. Choose All if an order must match every filter you set.
- Check the rows in the table, then click Download at the top right of the table.
- Open the CSV. If the report spans more than one page, WooCommerce generates it in the background and emails the download link to the WordPress account that requested it.
The CSV contains report data such as order numbers and net sales. If an order was refunded, the report can show a row for the original sale and another for the refund on its own date. Check the date type and excluded statuses under Analytics → Settings if you’re comparing the CSV with another report. Orders report · CSV download and settings
Choose your CSV columns with a free plugin
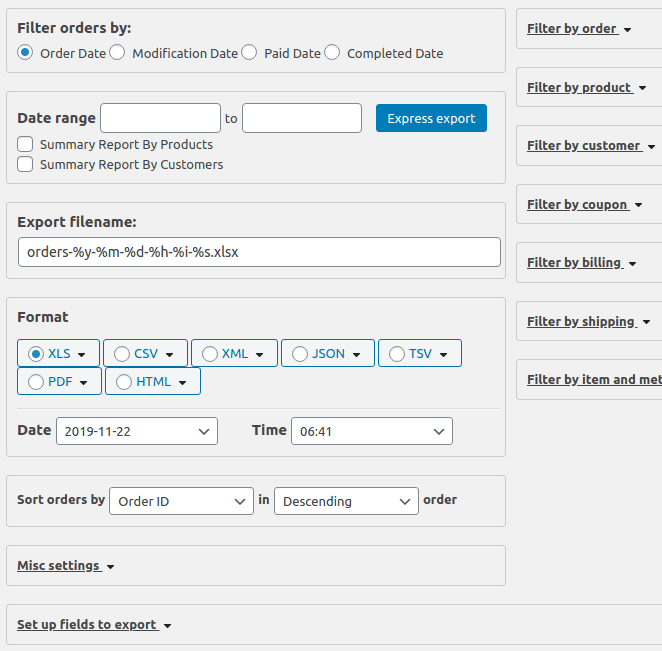
If your warehouse asks for a shipping address and a SKU for each item, build the file around those fields. Advanced Order Export for WooCommerce lets you choose the columns in a free manual export. The screenshot shows an earlier interface. Select CSV for this example.
- Install and activate Advanced Order Export for WooCommerce, then open WooCommerce → Export Orders.
- Choose the date range and order filters. Use the date field your recipient expects. For example, an order placed Monday and paid Tuesday falls on different days depending on the date field you choose.
- Select CSV and open Set up fields to export. For a warehouse file, start with the order number, item SKU, quantity, and shipping fields requested by the warehouse. Leave out billing details when the recipient only needs shipping information.
- Click Preview to check the columns. Look at an order with two different items so you can see whether the file repeats the order details across item rows.
- Click Export. Open the downloaded file and confirm the filters and layout before sending it.
The free plugin supports manual downloads. Scheduled delivery is a Pro feature. If you’re moving orders to another store, check which fields the receiving importer requires before building the CSV. The WooCommerce export guide covers migration and scheduled exports in more detail.
Check why an order appears twice
Imagine a batch with two orders. 1042 has two different items. 1043 has one item and a refund later in the same week. If both orders match the filters, here’s what repeated order numbers can mean in the two files.
| Where you see it | Illustrative example | What to check |
|---|---|---|
| WooCommerce Analytics Orders report | Order 1043 has an original sale row and a refund row on a later date. | Use the refund date when reviewing activity for the week. Count unique order numbers if you're checking how many distinct orders the file contains. |
| Plugin export with one row per item | Order 1042 appears on one row for each of its two SKUs. | Keep both item rows for fulfillment. Check quantities by SKU. Count a repeated order total once per order. |
Under Set up fields to export, set Fill order columns for to 1st row only if you want order-level values to appear once. The item rows still show what needs to ship.
Check the date range, order statuses, and required columns before sharing either file. If you’re sending a fulfillment file, confirm whether the recipient expects one row per item or one row per order. Those choices change how they read the same order number. WooCommerce refund rows · Plugin item-row behavior
Export filtered WooCommerce orders with Putler
If you already report on multiple WooCommerce stores in Putler, you can export a filtered list from the same place you review sales. Connect your WooCommerce stores, open Sales, select the stores and date range, apply the filters you need, and click Export. Use Transactions if you need to work from the transaction list. Putler CSV export documentation
The examples below show how to narrow the view before exporting or looking up an individual order.
Choose a date range
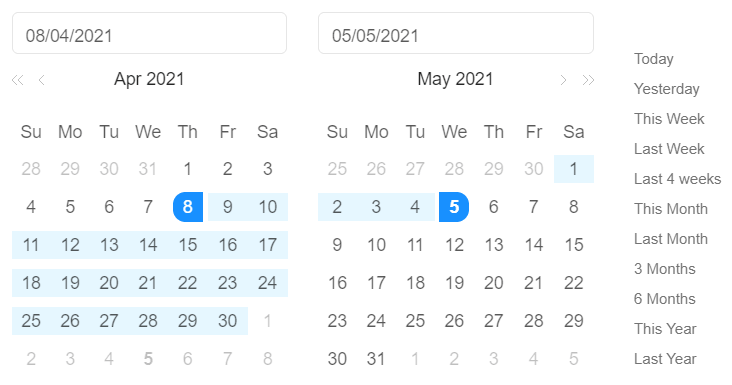
Choose Last Week for a weekly review, or set a custom range if you’re matching another report. Use the same dates for each store when comparing exports.
Filter by product
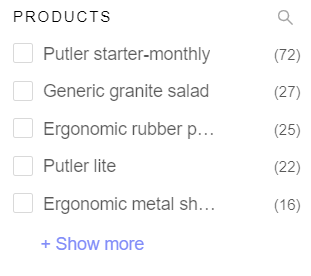
Select the product you want to review before exporting the order list. For a separate product catalog file, follow the WooCommerce product export guide.
Filter by location
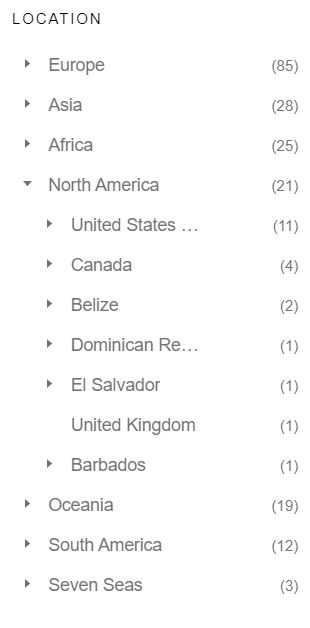
Expand a region and select the country you want to review. For example, narrow the list to Canada before exporting sales for that market.
Filter by transaction status
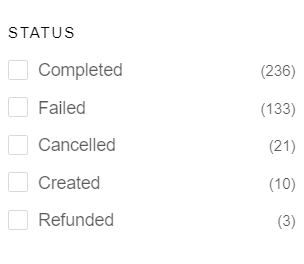
Select Refunded when you’re investigating refunds. Check the dashboard and status labels before comparing that CSV with WooCommerce’s order statuses. In WooCommerce, Processing can describe a paid order that’s awaiting fulfillment. WooCommerce order statuses
Look up a customer by email or name
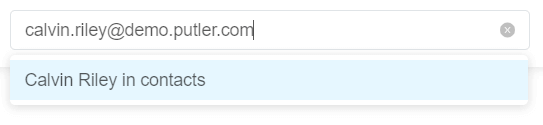
Search by email if you have it. This helps you pick the correct contact before reviewing their order history.
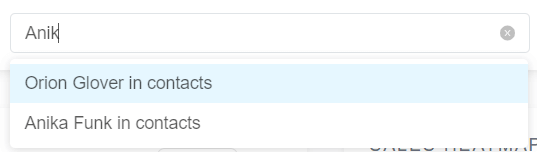
If you only have a name, confirm the contact details before relying on the results. To export a customer list, use the Customer dashboard and the customer segmentation tools.
Check which team or attribute you’re viewing
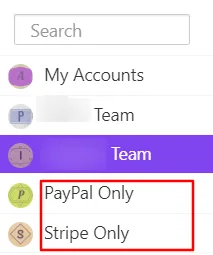
The team selector switches between teams. Each team has its own assigned data sources. In this example the teams are named PayPal Only and Stripe Only. Use the team selector to choose the data sources you want to review. Check the checkout payment method in WooCommerce when that’s the field your export needs. Putler Teams
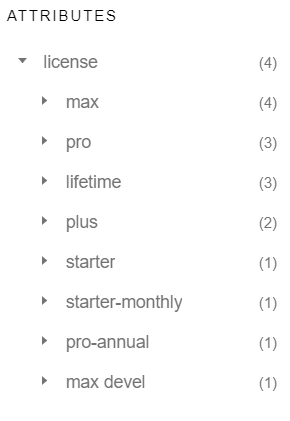
If an attribute appears in your account, select the value you want to review. This example shows license types. Check the resulting order list before assuming every product variation is included.
Putler documents a limit of 10,000 rows per report. If you need more, split the export into smaller date ranges and use ranges that don’t overlap. Putler CSV export limits
Frequently asked questions
How do I export WooCommerce orders for free?
Open WooCommerce → Analytics → Orders, set your filters, and click Download for the built-in report. To choose columns such as shipping address or item SKU, use the free version of Advanced Order Export for WooCommerce.
Can I export WooCommerce orders to Excel?
Yes. Open the WooCommerce CSV in Excel, or select an Excel format in an export plugin that supports it. When importing a CSV into Excel, set SKU or postal-code columns to text if you need to preserve leading zeros.
How do I export and import WooCommerce orders?
First check the receiving importer’s required columns. Export those fields from the source store, then map the CSV columns in the destination importer. Try a small batch on a test copy first and verify that items and customers link to the right orders. WooCommerce CSV import documentation
Can I export orders directly from the WooCommerce Orders list?
Some extensions add bulk export controls to WooCommerce → Orders. In core WooCommerce, go to Analytics → Orders to download an Orders report as CSV. Orders-list extension controls
Where is my WooCommerce CSV download?
If the report fits on one page, the CSV downloads immediately. If it spans multiple pages, WooCommerce emails the link to the address on the WordPress account that requested it. Check that inbox and its spam folder.